Let's try another approach
Little Shunters Second Scratch Build
What did I learn from my first scratch build 🤓
- Body frame was not square
- Tanks supports were inconsistent
- Styrene welding was poor
- Styrene cuts not square
- Superglue and thin styrene don't like each other
- Thin styrene is going to warp
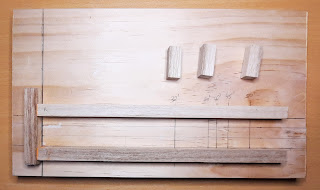
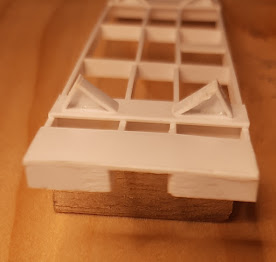
Using my lessons learnt above, things were improving, this styrene build was stronger, like it was one piece, so that was a positive. It started to look a little more in perspective and the tank supports were a little more consistent and building it felt a little more controlled and a natural process. Below are a couple pictures I took while learning.
What did I learn from my second scratch build 🤓
- Measure twice and cut once🤦
- Loose fit and support before welding to improve desired square frame
- Welding Styrene let gravity do its thing
- Styrene welding can be cleaned up with a light sand where possible
- Styrene cuts still not square
- Investigate using wax paper to stop styrene gluing to wood.
- Don't swap out tools mid build 😆
In my next several posts you will see life decides to change the points on me which sends me down not one road but many at once, of course I did not realise this as I started to get caught up in the excitement and fun.
Until next time.


Comments
Post a Comment